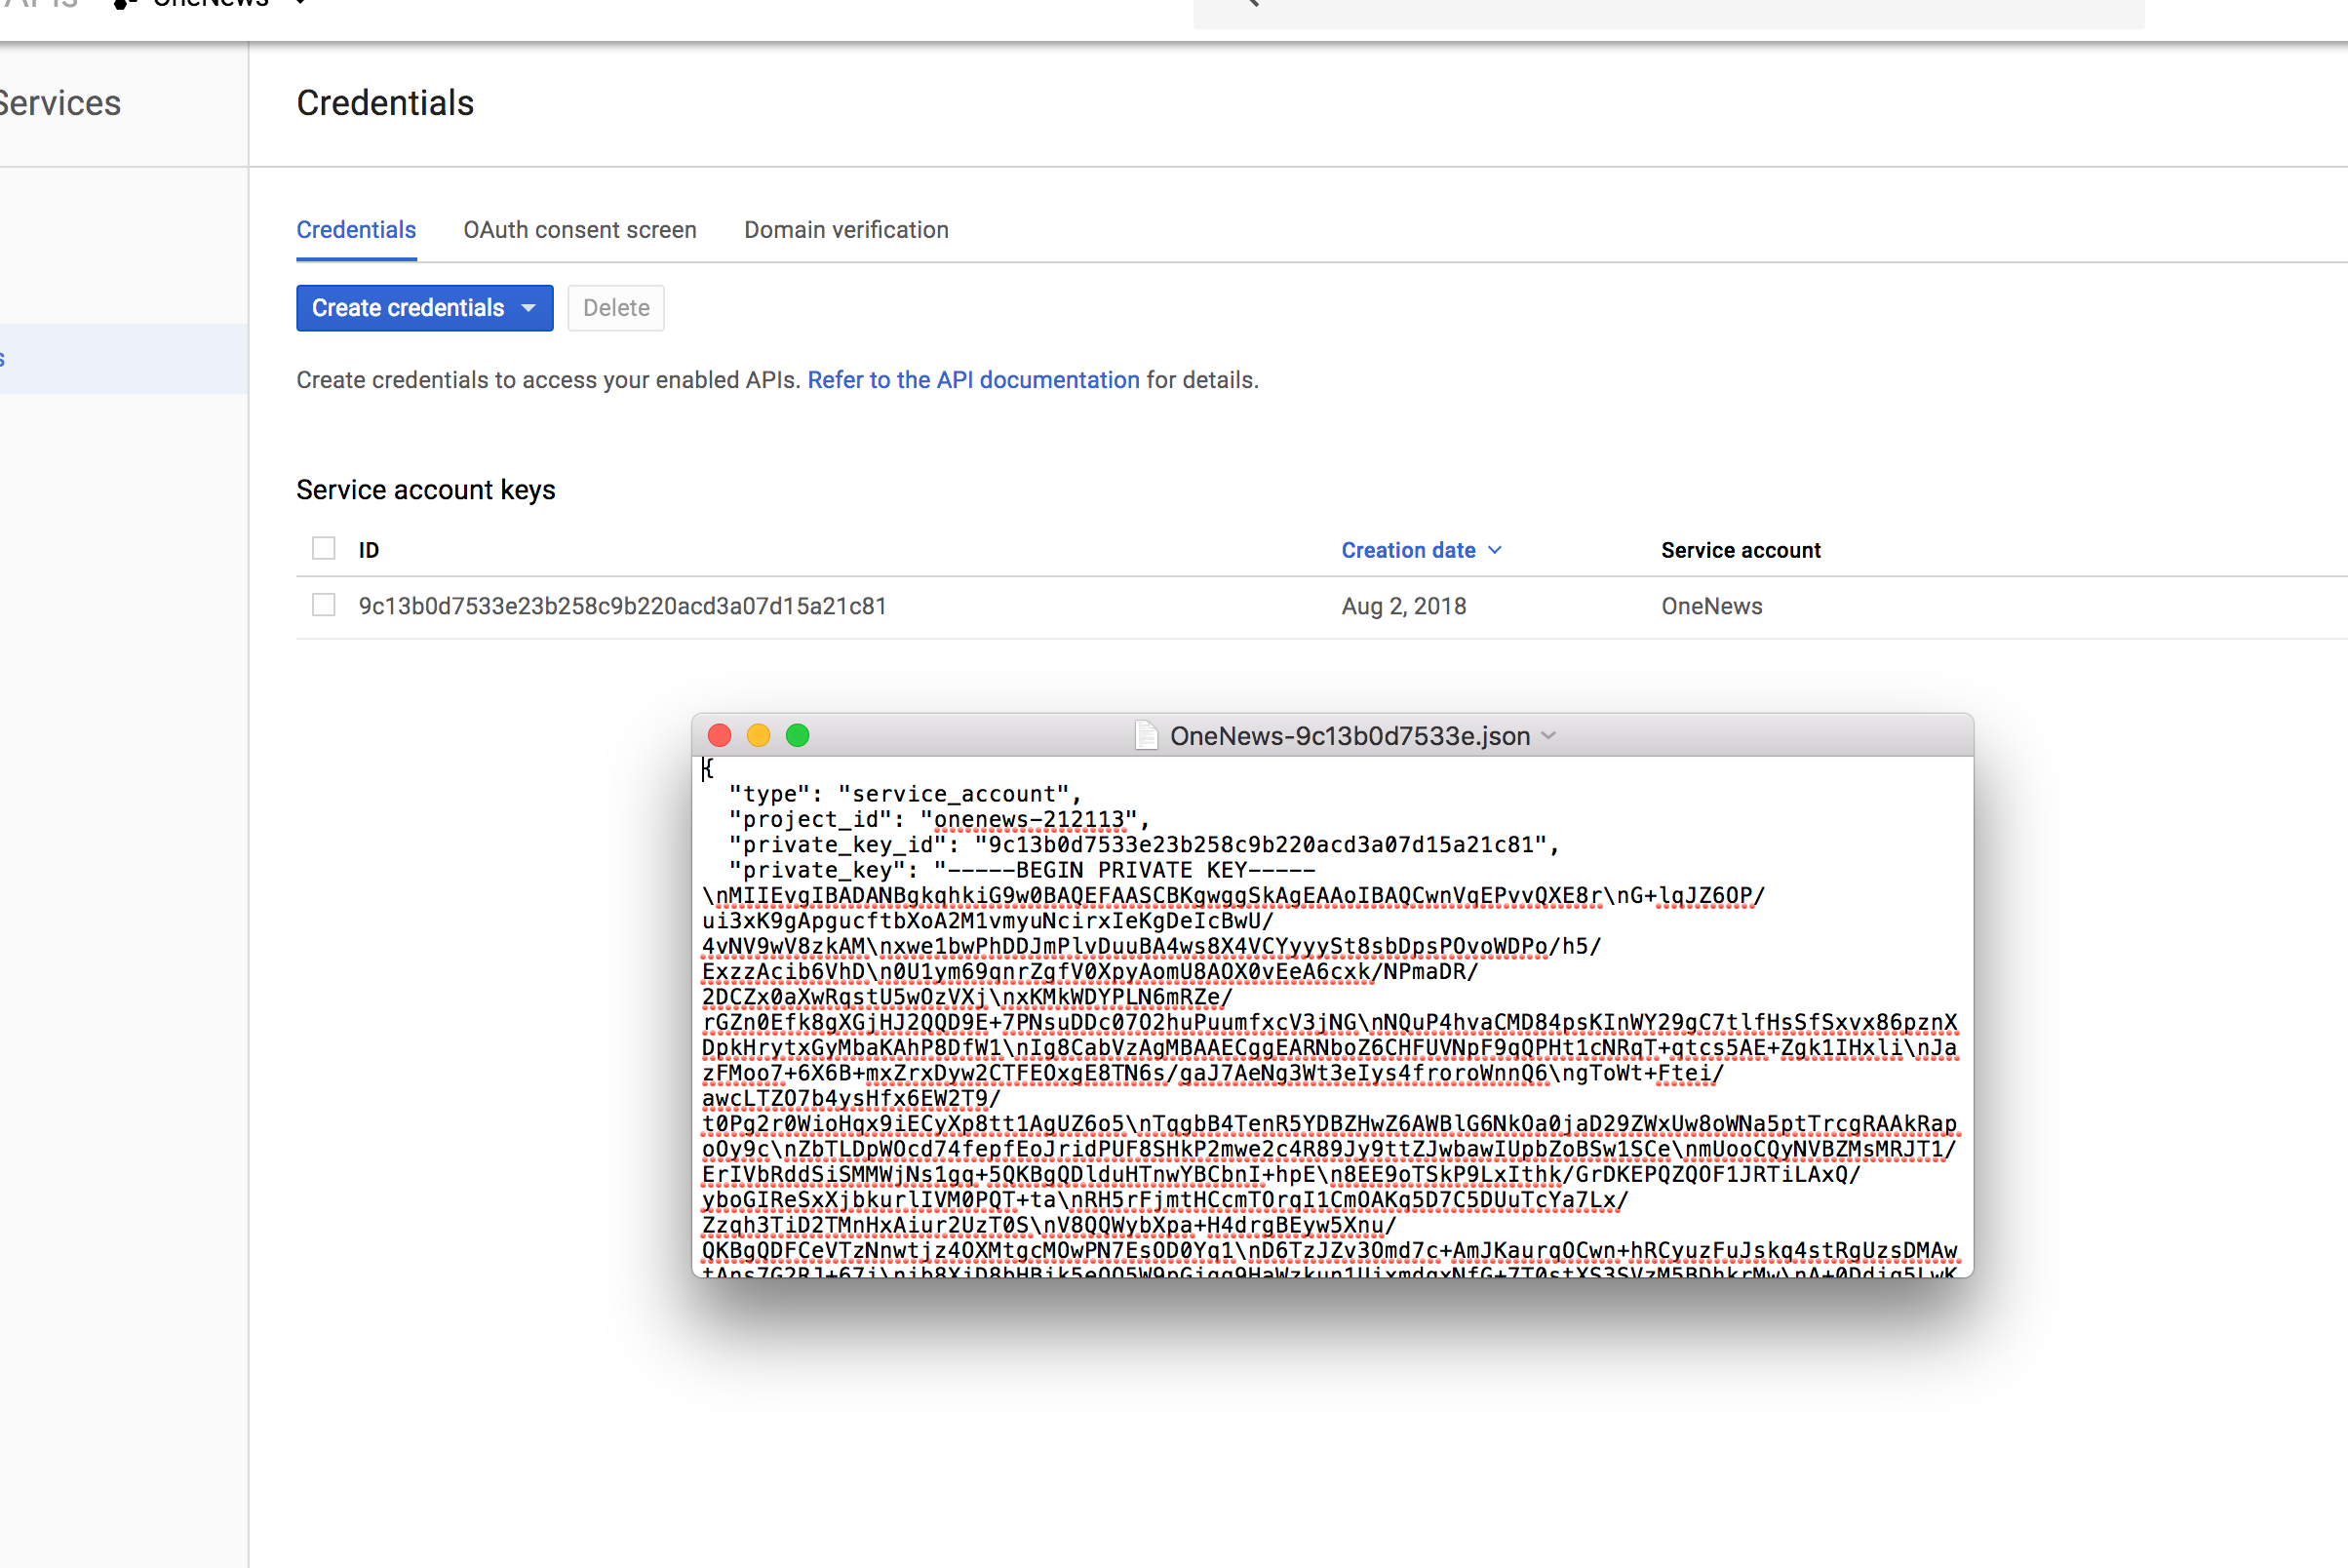
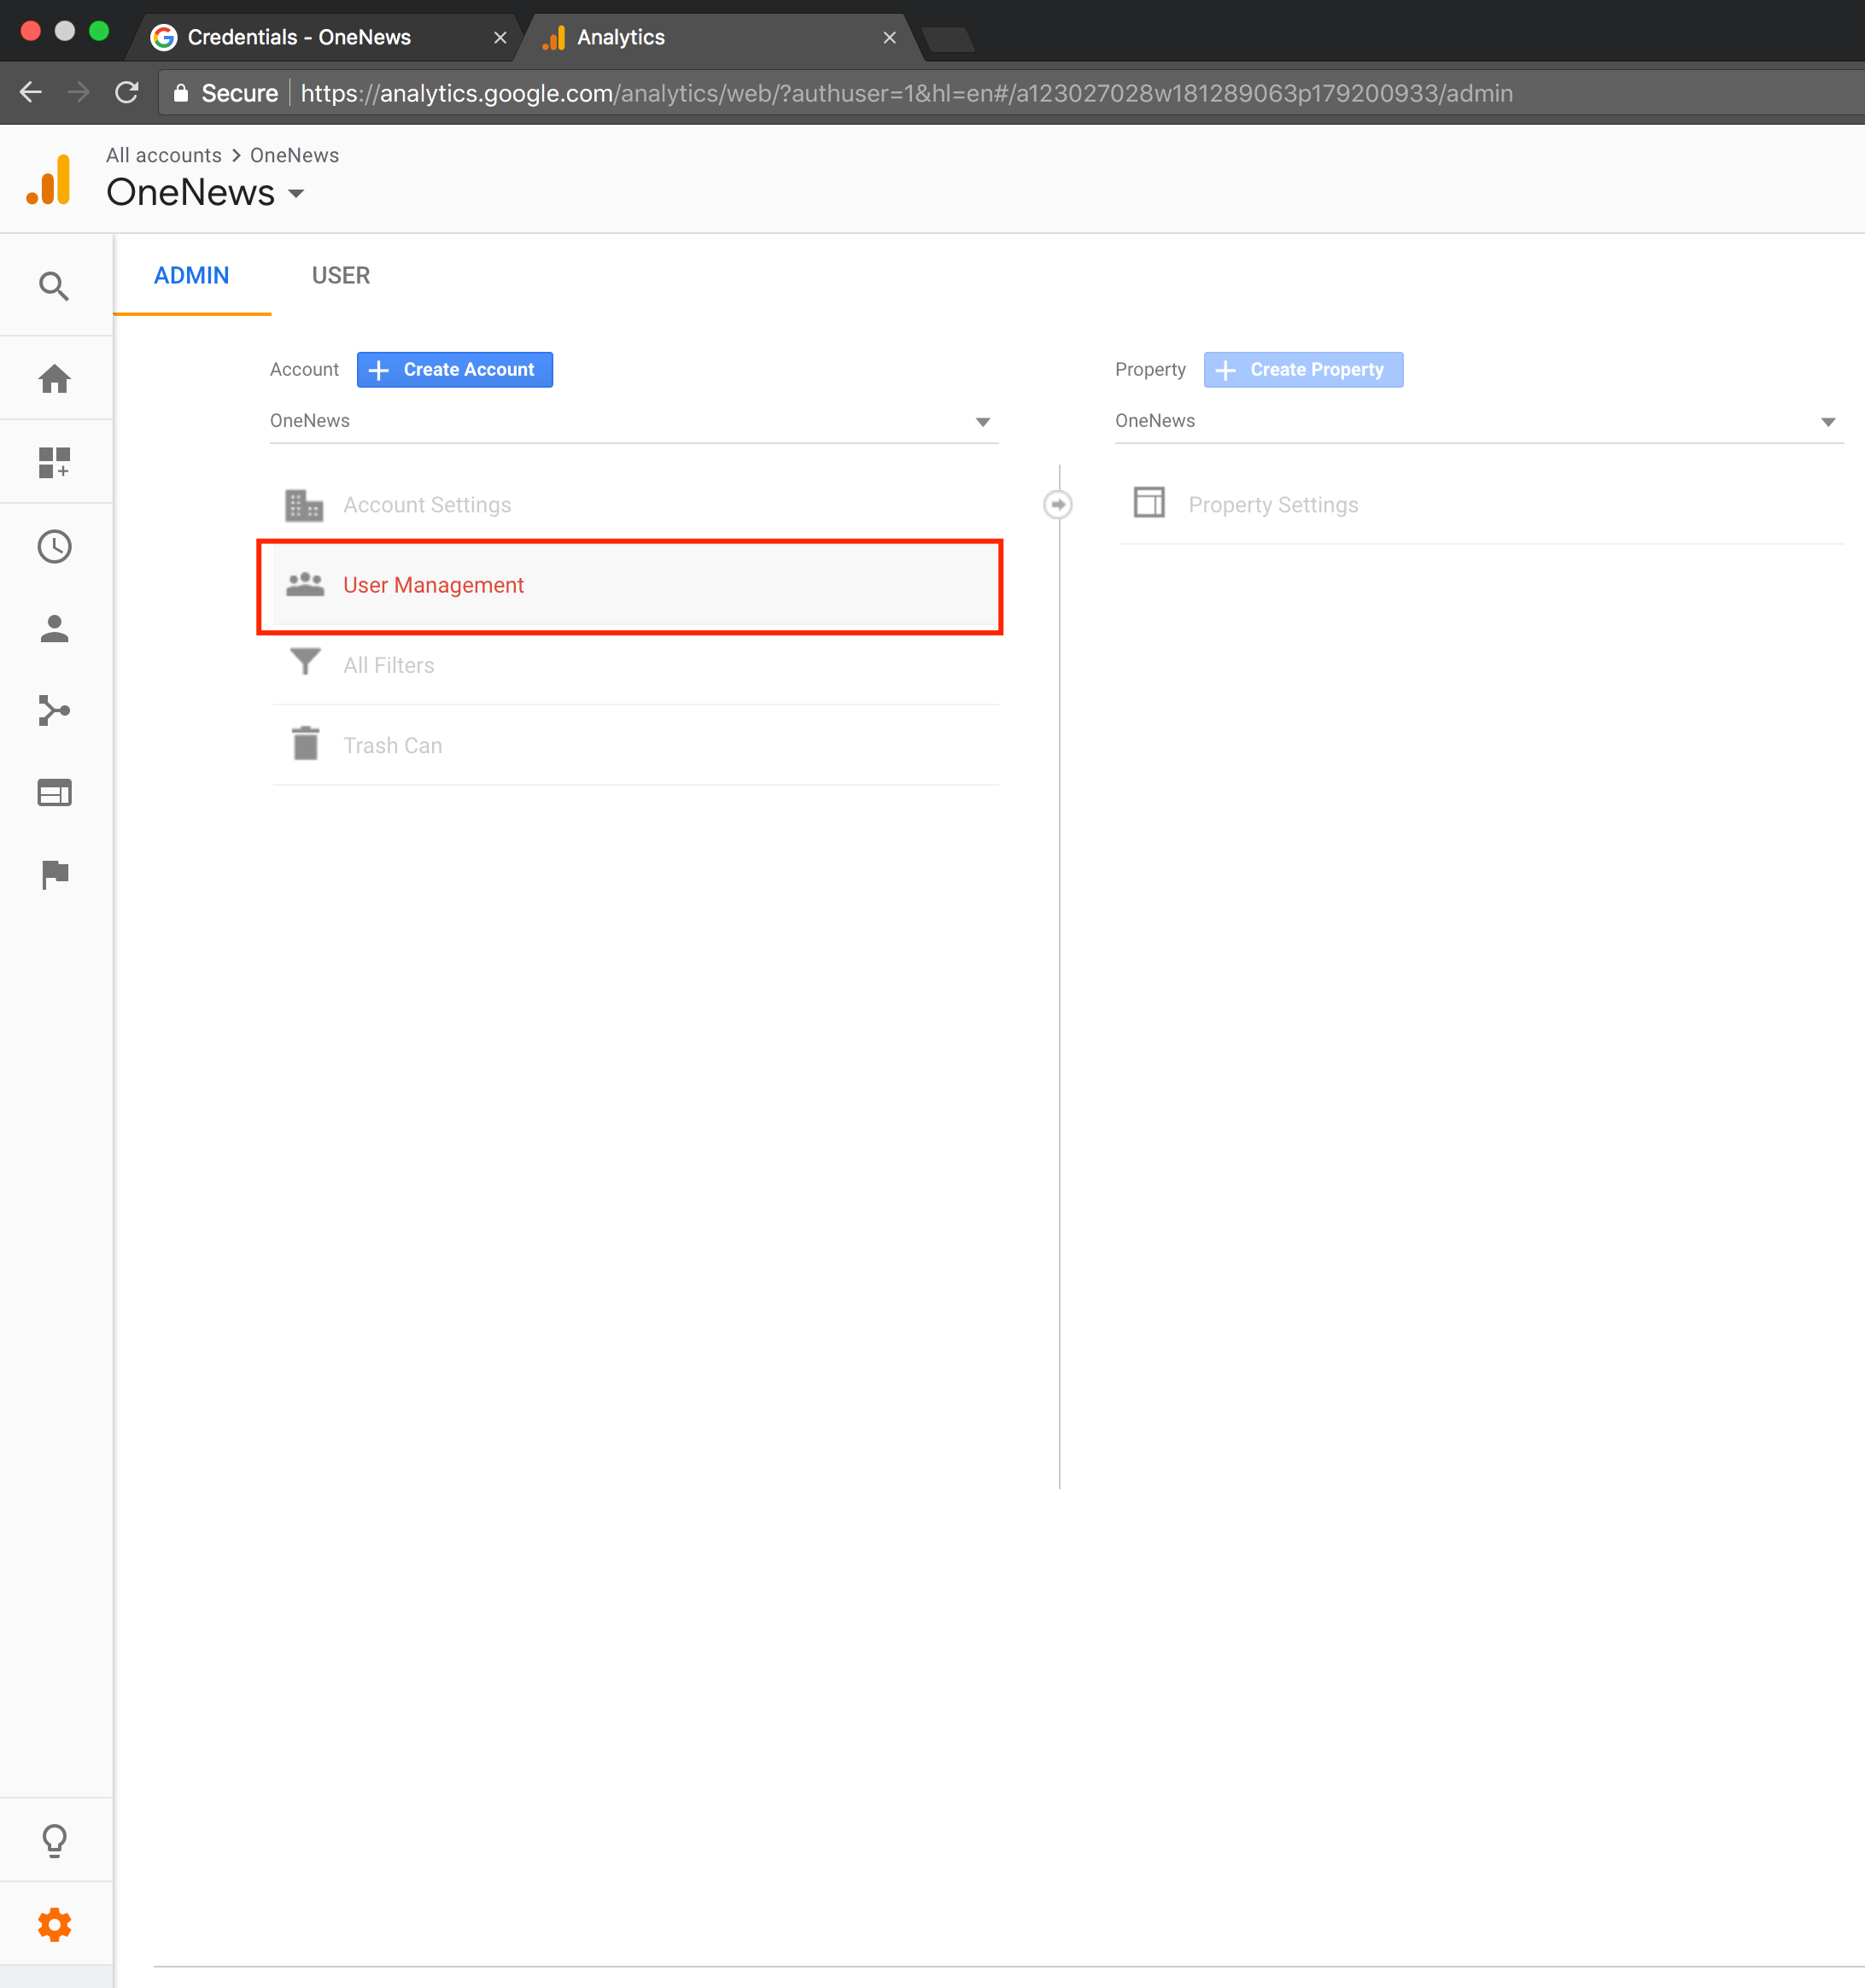
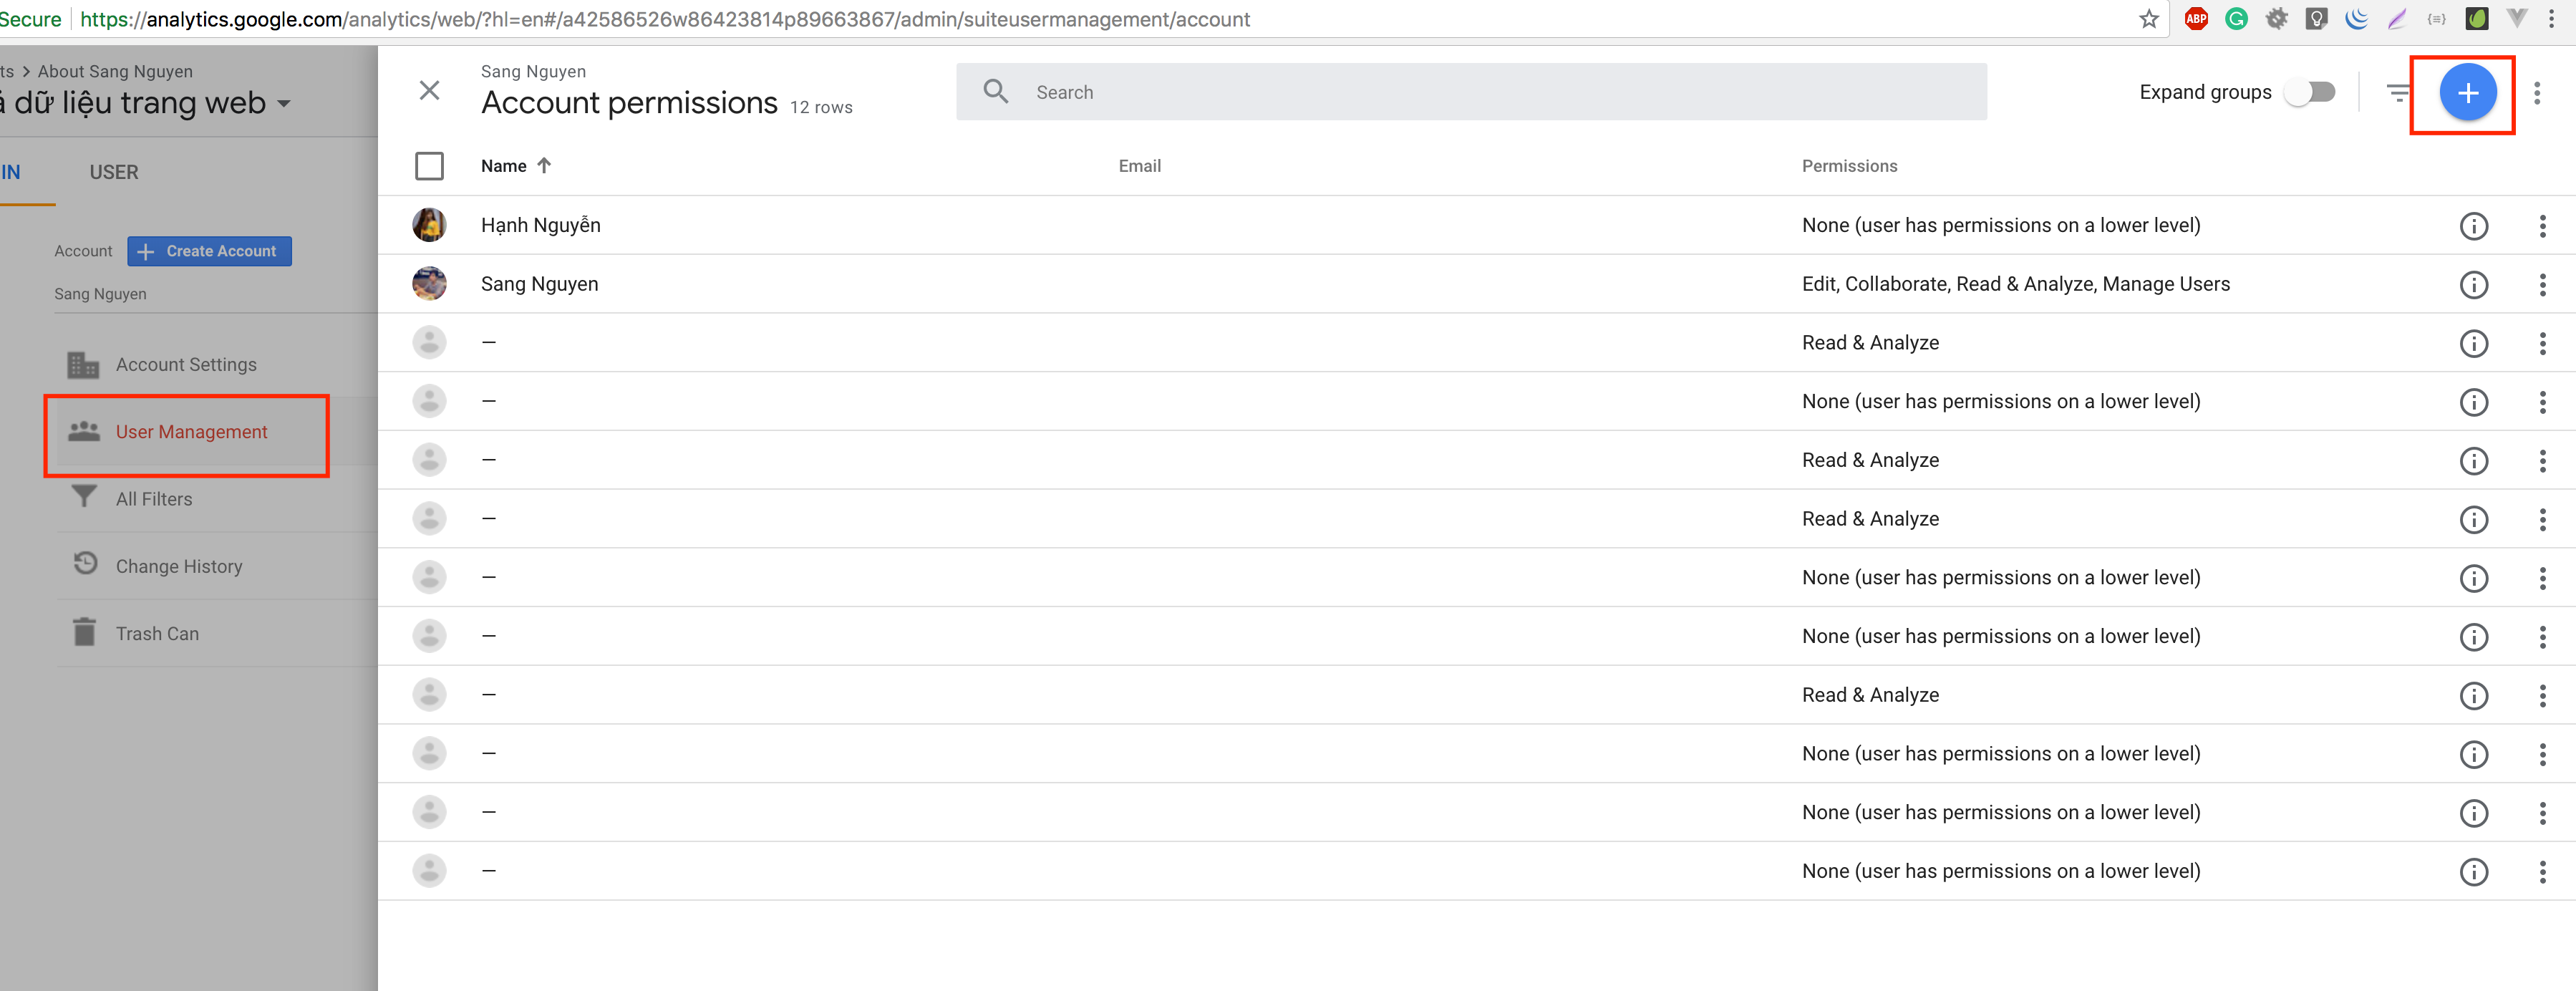
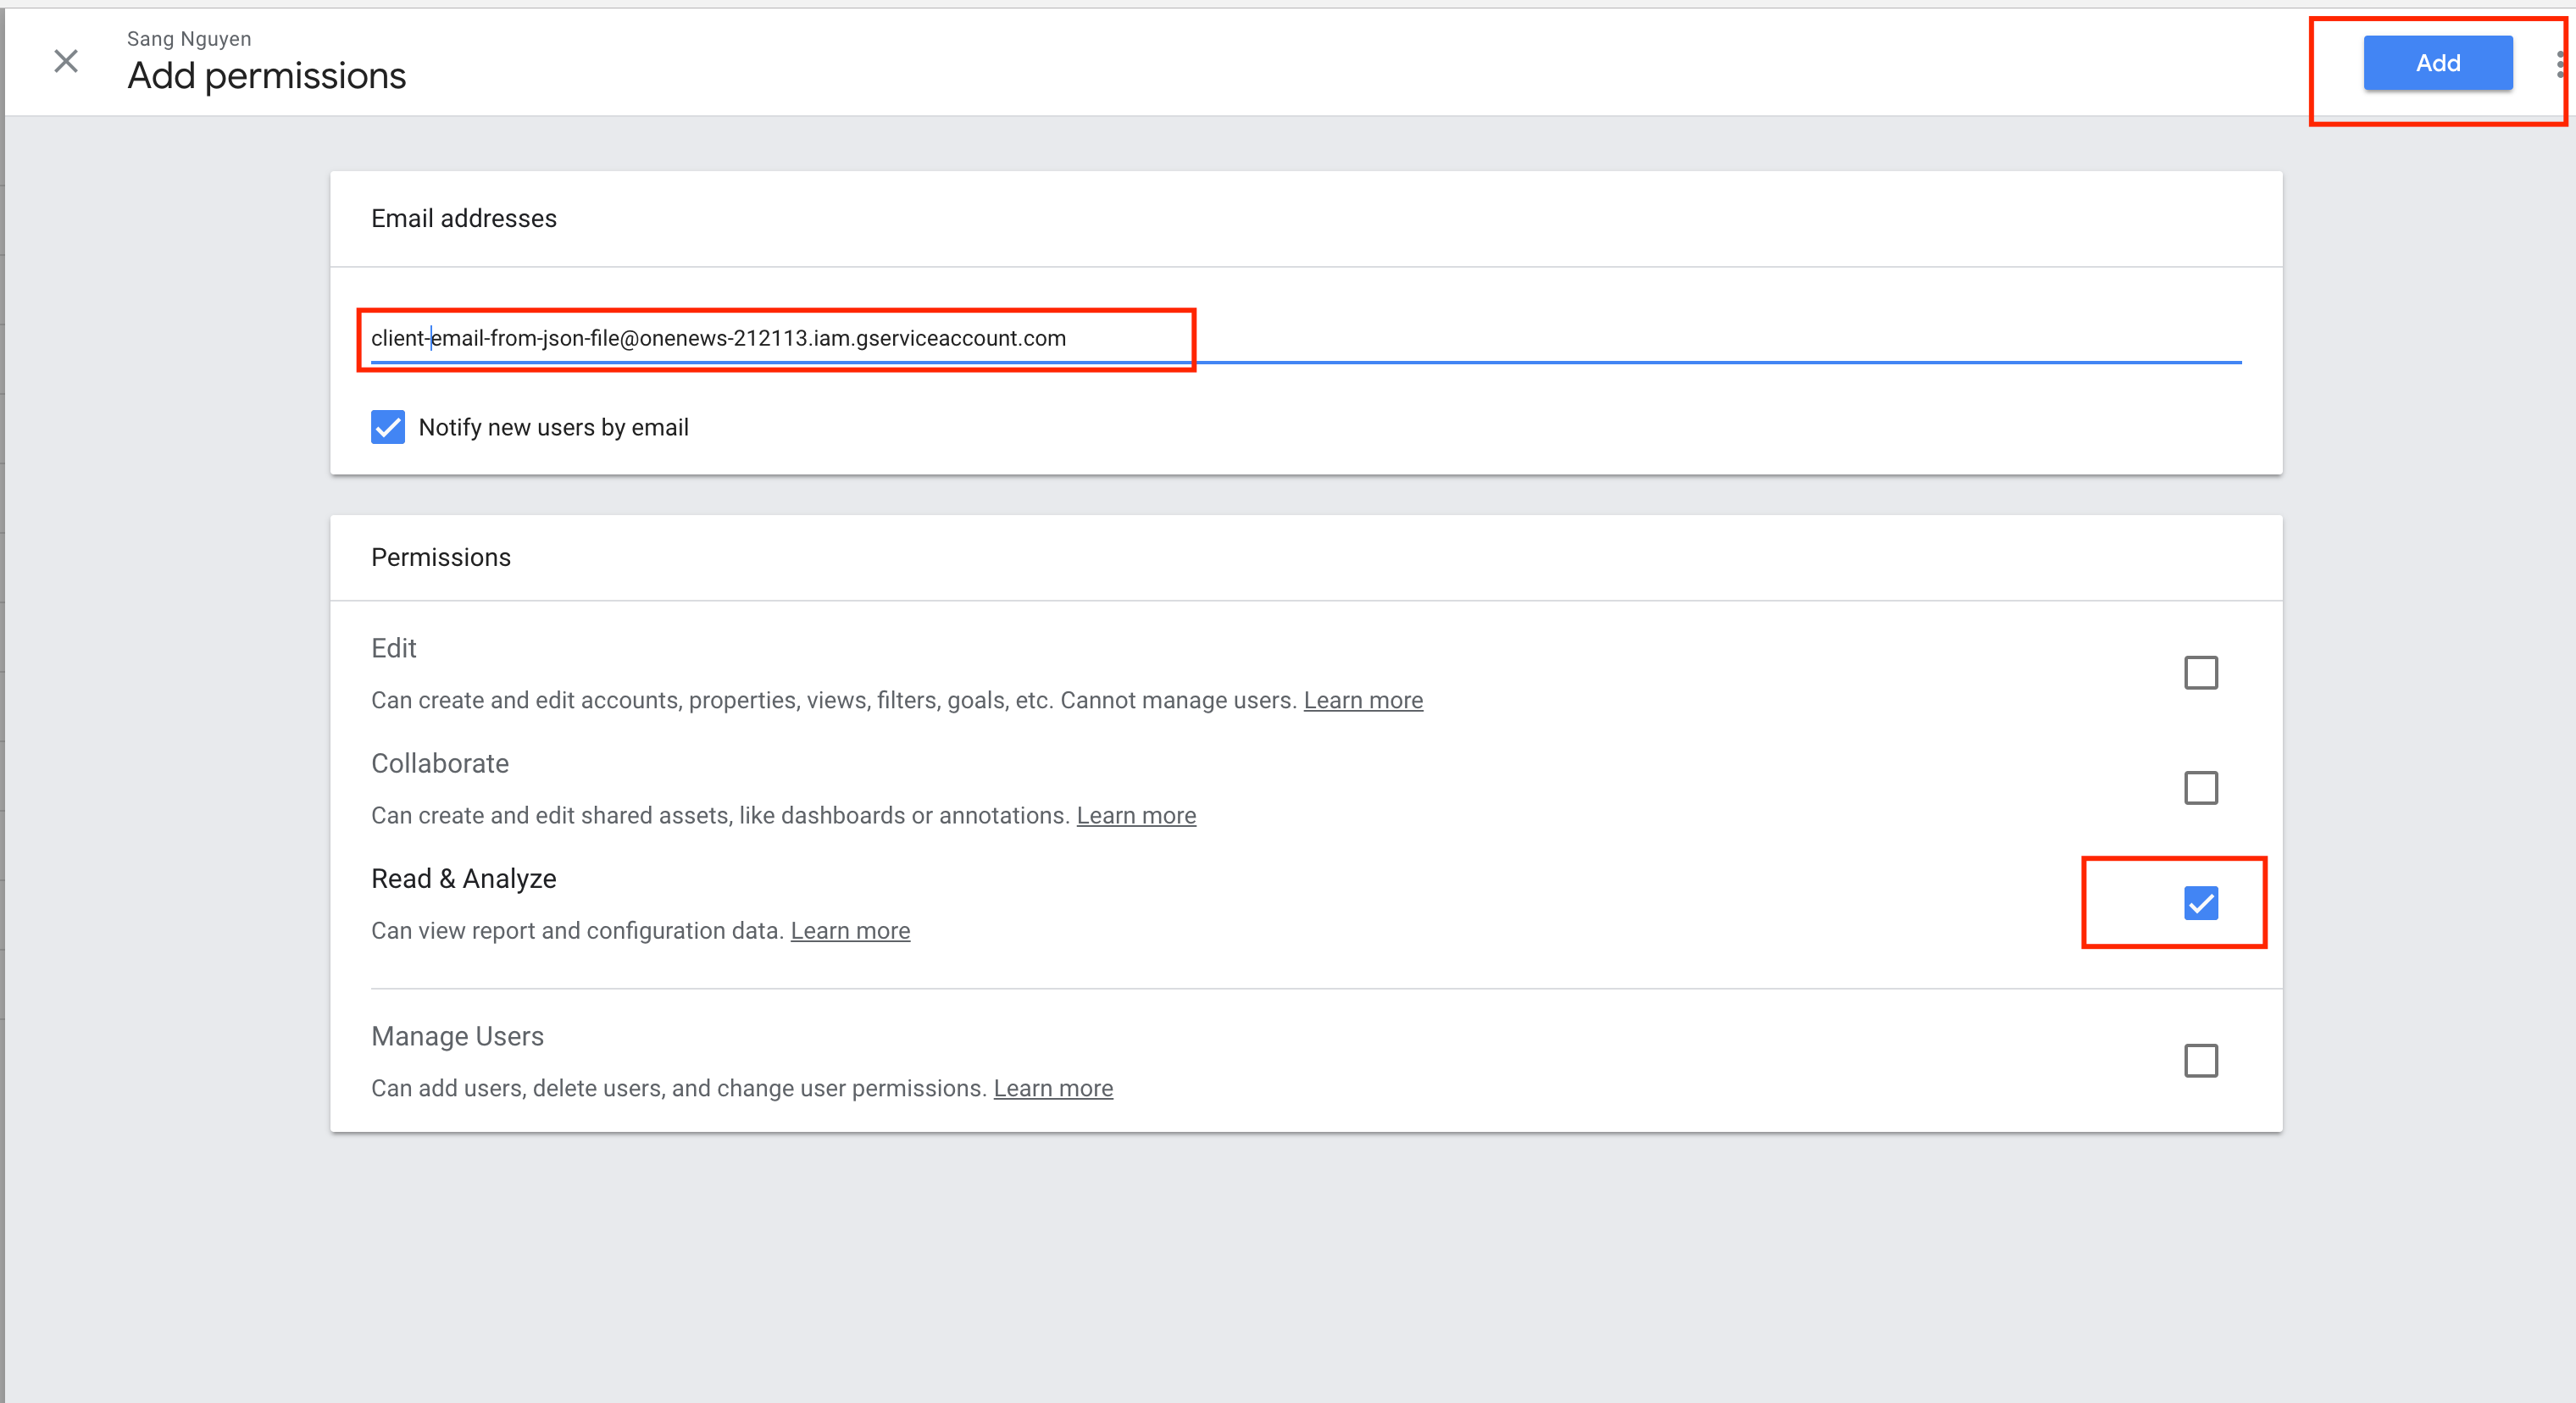
- Open JSON credentials file and copy client email. Then click on "User management" and add that email to list account. Just need view only permission.
Don't forget to give us a star on Github repository if you use our free plugins.
6. Install our script on a subfolder
Install our script on domain.com/blog
- Upload our source code to public_html/blog-source
- Copy folder public_html/blog-source/public in public_html/blog
- Open file public_html/blog/index.php and change it to:
<?php
use Illuminate\Contracts\Http\Kernel;
use Illuminate\Http\Request;
define('LARAVEL_START', microtime(true));
/*
|--------------------------------------------------------------------------
| Check If The Application Is Under Maintenance
|--------------------------------------------------------------------------
|
| If the application is in maintenance / demo mode via the "down" command
| we will load this file so that any pre-rendered content can be shown
| instead of starting the framework, which could cause an exception.
|
*/
if (file_exists(__DIR__.'/../blog-source/storage/framework/maintenance.php')) {
    require __DIR__.'/../blog-source/storage/framework/maintenance.php';
}
/*
|--------------------------------------------------------------------------
| Register The Auto Loader
|--------------------------------------------------------------------------
|
| Composer provides a convenient, automatically generated class loader for
| this application. We just need to utilize it! We'll simply require it
| into the script here so we don't need to manually load our classes.
|
*/
require __DIR__.'/../blog-source/vendor/autoload.php';
/*
|--------------------------------------------------------------------------
| Run The Application
|--------------------------------------------------------------------------
|
| Once we have the application, we can handle the incoming request using
| the application's HTTP kernel. Then, we will send the response back
| to this client's browser, allowing them to enjoy our application.
|
*/
$app = require_once __DIR__.'/../blog-source/bootstrap/app.php';
$app->bind('path.public', function() {
    return __DIR__;
});
$kernel = $app->make(Kernel::class);
$response = tap($kernel->handle(
    $request = Request::capture()
))->send();
$kernel->terminate($request, $response);
We have updated paths on this file and rebind public_path().